The shift toward digital dentistry has changed how dental models, surgical guides, splints, dentures, and temporary restorations are produced. At the center of this workflow is the 3D dental printer, which converts digital designs into physical dental applications with a more structured and repeatable production process.
However, choosing and using a dental printer involves more than comparing resolution or printing speed. Users also need to consider scanning, CAD design, compatible materials, slicing, post processing, application requirements, and workflow integration. Understanding the complete process makes it easier to select equipment that fits actual production needs.
What Is a 3D Dental Printer?
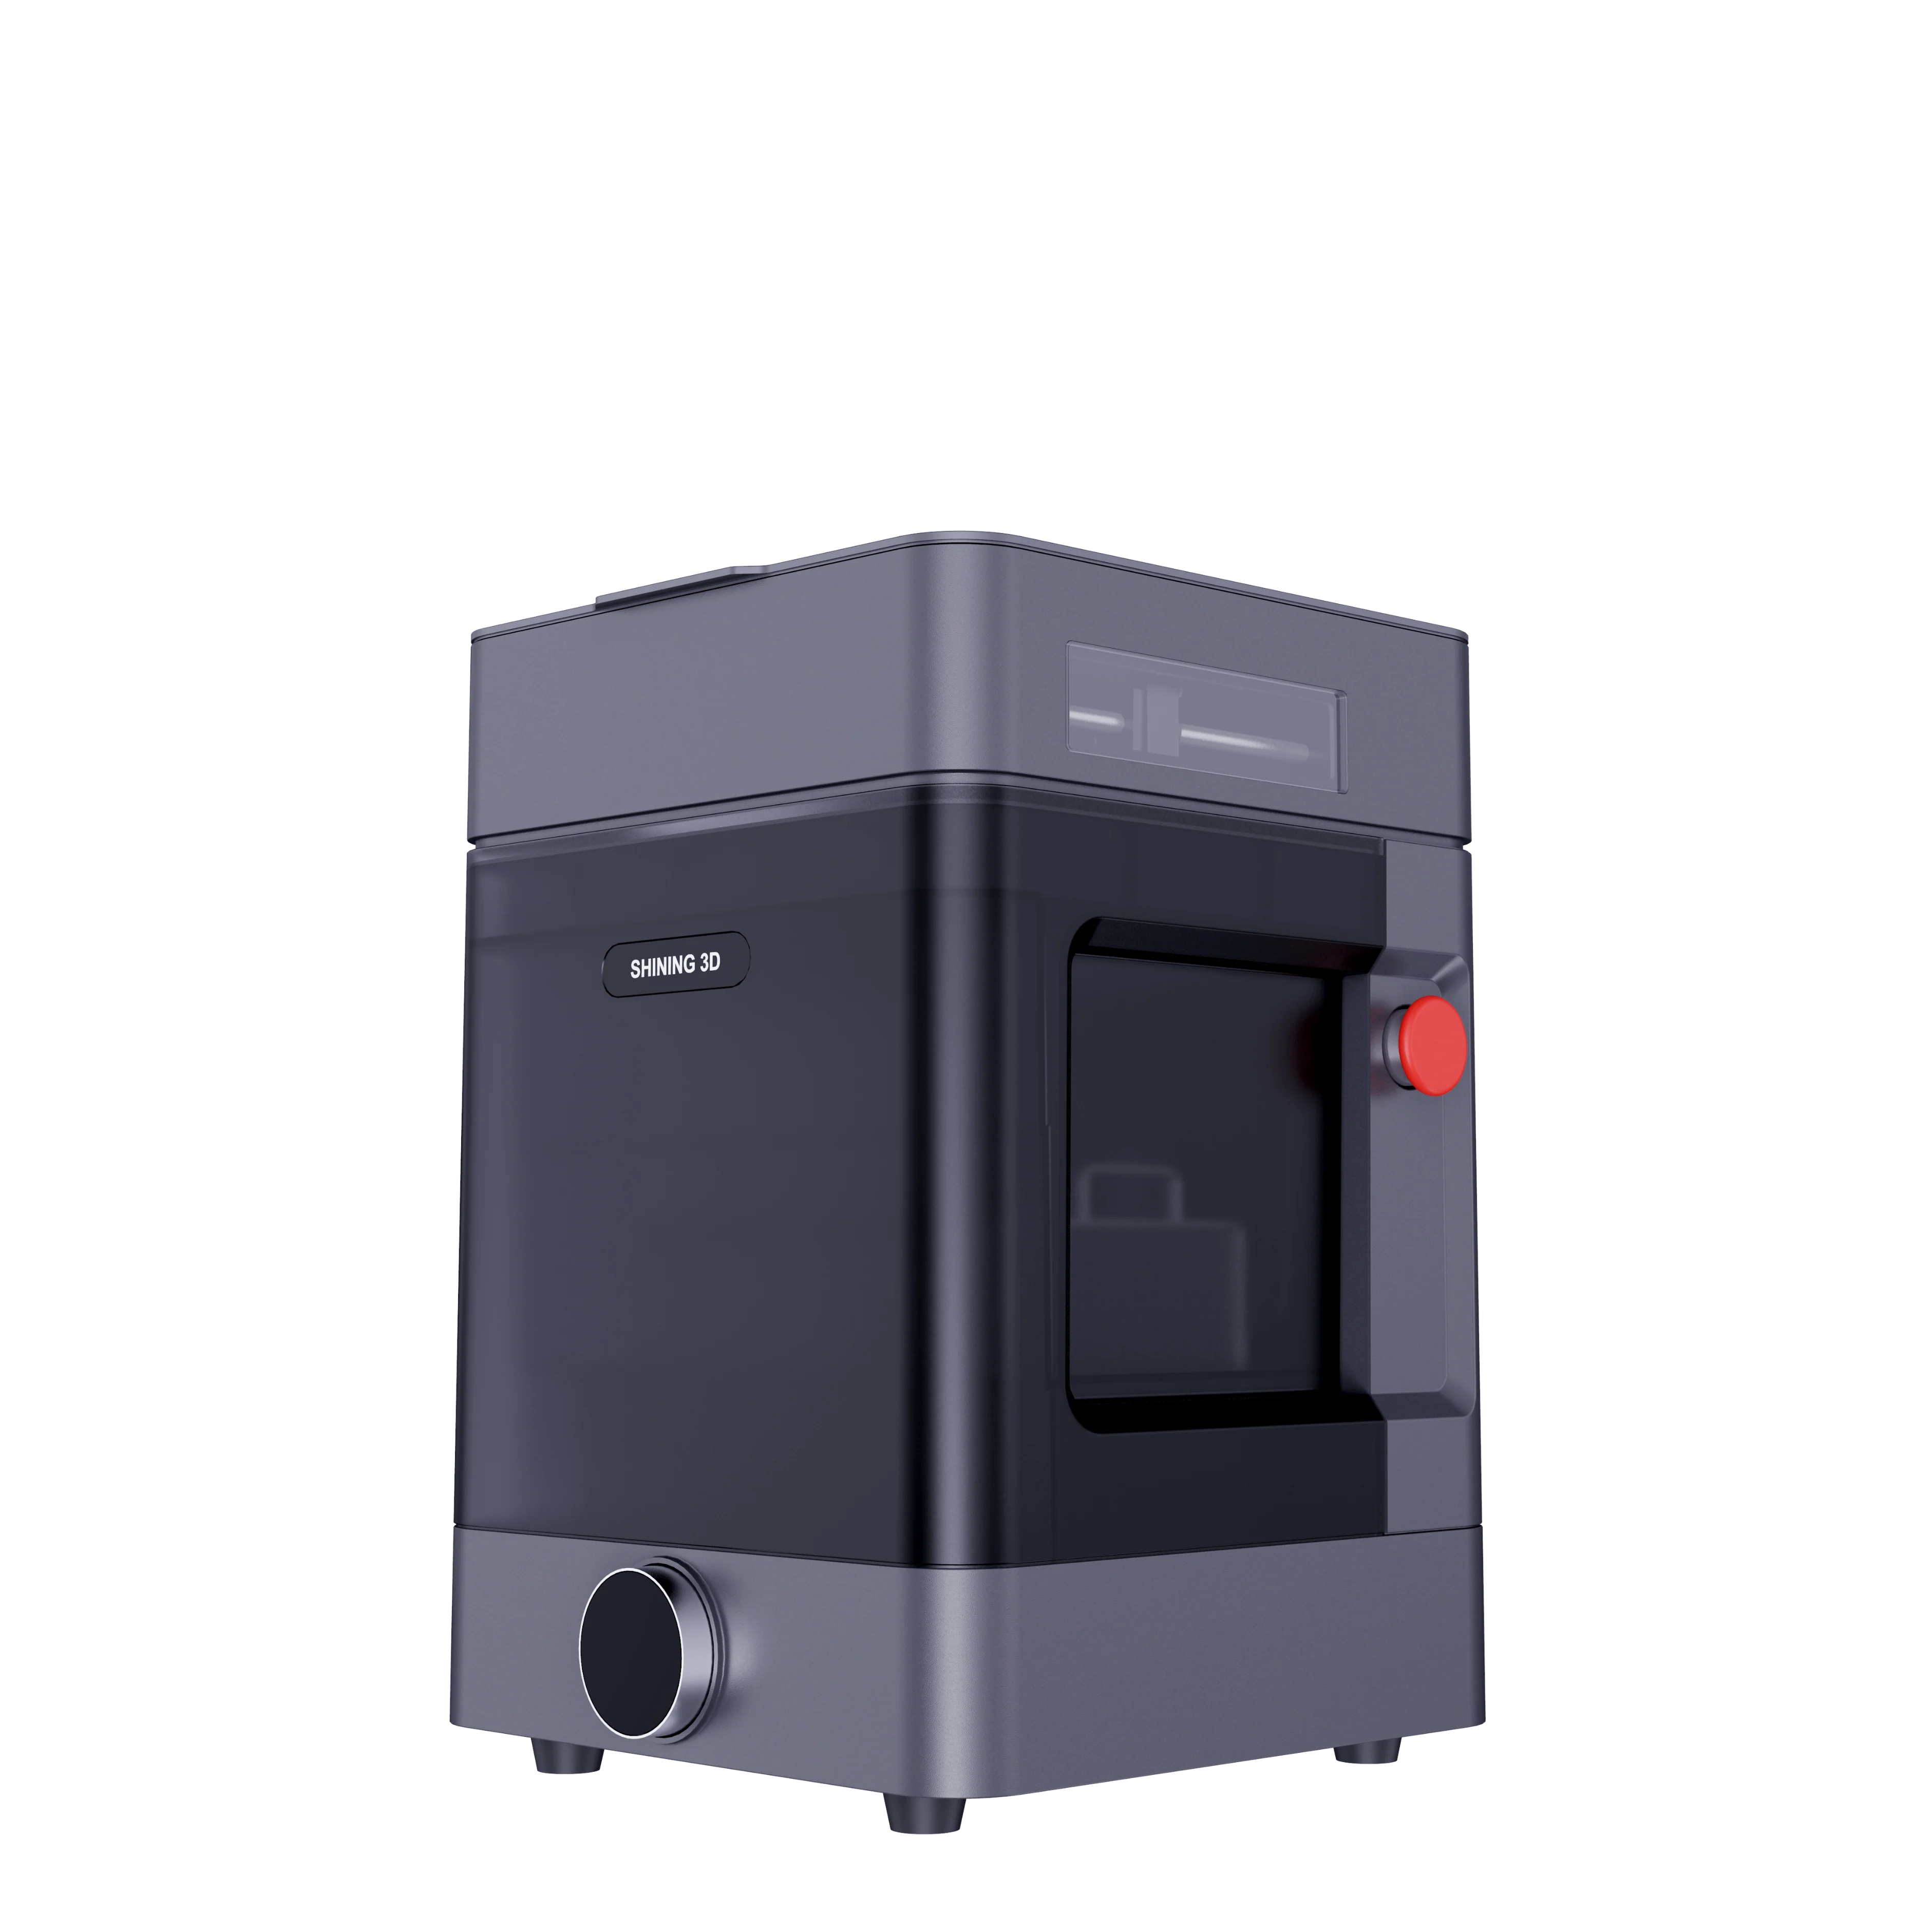
A 3D dental printer is a digital manufacturing device designed to produce dental components directly from three dimensional digital files. Instead of relying entirely on traditional physical models and manual fabrication, dental professionals can move from digital data to printed parts through a connected workflow.
Depending on the system and material, 3D dental printing can support applications such as dental models, surgical guides, occlusal splints, impression trays, dentures, temporary crowns and bridges, and other dental components. The appropriate printer and resin depend on the intended application, required accuracy, production volume, and post processing requirements.
For this reason, a printer should be evaluated as part of the overall workflow rather than as an isolated piece of equipment.
Step 1: Capture Accurate Digital Dental Data
The workflow typically begins with digital data acquisition. An intraoral scanner can capture the patient’s teeth, soft tissue, occlusal surfaces, and preparation areas, creating a digital representation that can be transferred to design software.
The quality of this initial data has a direct influence on later stages. Clear preparation margins, detailed occlusal anatomy, and properly controlled scanning conditions are important for producing usable digital files. SHINING 3D DENTAL notes that common file formats include STL, OBJ, and PLY, with differences in the geometry, color, and texture information they contain.
For clinics and laboratories building a digital workflow, compatibility between the scanner, CAD software, printer, and file format should therefore be checked before implementation.
Step 2: Design the Dental Application
Once the digital scan is available, the next step is designing the intended dental application. Depending on the case, this may involve creating a dental model, surgical guide, splint, temporary restoration, or another component.
CAD software provides control over dimensions, margins, insertion paths, thickness, support structures, and other design parameters. In some workflows, AI assisted design can also help accelerate repetitive design tasks while allowing users to review and adjust the results.
The important consideration is that the final printed result can only be as reliable as the digital design behind it. A high specification printer cannot compensate for incomplete scan data or incorrect design parameters.
Step 3: Select the Right 3D Dental Printer and Material
Printer selection should begin with the intended applications rather than with hardware specifications alone.
Modern dental printers may use technologies such as DLP or LCD. SHINING 3D DENTAL currently offers both technologies, with its portfolio including models such as AccuFab-F1 and Ceramix-Nano under DLP technology, as well as AccuFab-CEL and AccuFab-Aris using LCD technology.
Another important consideration is material compatibility. Different dental applications require different material characteristics. For example, a resin designed for dental models may not be suitable for a surgical guide or temporary restoration.
SHINING 3D DENTAL provides materials for applications including temporary crowns and bridges, provisional All-on-X applications, denture bases, surgical guides, impression trays, dental models, and occlusal splints.
Therefore, users should evaluate the complete printer and material ecosystem instead of focusing only on advertised resolution.
Step 4: Prepare and Slice the Print File
After the design and material are selected, the digital model must be prepared for printing. This usually involves importing the file into slicing software, positioning the model, selecting suitable print parameters, and generating the instructions required by the printer.
Orientation and support placement are particularly important. Poor positioning can increase material consumption, affect surface quality, or create unnecessary post processing work.
An integrated workflow can simplify this stage. SHINING 3D’s current Dental Cloud platform, for example, supports importing design results, cloud based slicing, and sending print jobs to a connected SHINING 3D printer.
For facilities handling multiple cases, a consistent digital preparation process can also make production easier to monitor and standardize.
Step 5: Complete the 3D Dental Printing Process
Once the file is prepared, the printer builds the dental component layer by layer. At this stage, printing accuracy, consistency, build volume, and production efficiency become important considerations.
The appropriate printer depends on workload. A smaller system may be suitable where space is limited or production requirements are moderate, while a system designed for broader workflows may be more appropriate for laboratories handling different applications.
SHINING 3D DENTAL’s printer portfolio includes different configurations and performance levels, allowing users to select equipment according to their workflow requirements. Its listed systems support layer thicknesses ranging from 50 to 100 μm, depending on the model and settings.
Step 6: Post Processing and Quality Inspection
Printing is not the final step. Depending on the material and application, printed parts may require washing, curing, support removal, and finishing before they can be inspected or used.
Post processing has a direct influence on the final quality of a printed component. Inconsistent washing or curing can affect the characteristics of the finished part, making a controlled workflow important for repeatable production.
SHINING 3D DENTAL offers dedicated post processing equipment such as FabWash, FabCure N2, and FabCure 2 as part of its broader printing ecosystem.
After post processing, the printed component should be checked against the original digital design and the requirements of its intended application. Dimensional accuracy, surface quality, fit, and overall integrity should all be considered before delivery or clinical use.
What Should You Consider When Choosing a 3D Dental Printer?
For users comparing different systems, several questions are more useful than simply asking which printer has the highest resolution.
First, what applications will be printed most frequently? A printer intended primarily for models may have different requirements from one used for surgical guides, splints, or temporary restorations.
Second, which materials are supported? An open material system can provide greater flexibility when applications and material requirements change. SHINING 3D DENTAL highlights open material compatibility as part of its dental printing approach.
Third, how well does the printer integrate with the existing digital workflow? Compatibility with scanners, design software, slicing tools, and post processing equipment can have a significant effect on daily operation.
Finally, consider total workflow efficiency rather than print speed alone. Material consumption, failed prints, post processing time, maintenance, operator training, and production consistency all contribute to the practical cost of 3D dental printing.
Building a More Connected Digital Dental Workflow
A 3D dental printer works most effectively when it is integrated into a complete digital process. From scanning and CAD design to material selection, printing, post processing, and inspection, every stage can influence the final result.
SHINING 3D DENTAL provides a connected ecosystem covering scanning, design, printing, materials, and post processing, with DLP and LCD printing technologies available for different dental applications.
For dental clinics and laboratories evaluating digital manufacturing, the goal should not simply be to add a printer. A better approach is to establish a workflow in which digital data can move efficiently from the initial scan to a verified finished application.
As digital dentistry continues to develop, understanding this complete process can help users make more informed equipment decisions, improve production consistency, and build a practical foundation for expanding their digital dental capabilities.
